
Carve the dang pumpkin

Throwback: Bryana & Amanda age 24(ish): carving pumpkins
It recently came to my attention that not everyone is enthusiastic about pumpkins, specifically carving them. This is a funny revelation to me as one of my very best friends (and business partner) in the world is Amanda Imes and she is as enthusiastic as they come when it comes to all things Halloween. She recently told me, “yeah, instead of house updates, I’ve decided to put all my energy into my haunted trail.”
It never occurred to me that one would choose not to carve a pumpkin in October.
Alas, I’m here to advocate for the carving of pumpkins! That said… one of our number one “rules” at retreats is “do not should on yourself, or anyone else”. And as a mom, I know all too well that we have more than enough on our plates - at all times. Please don’t let me “should” on you.
Now, another contradicting phrase Amanda and I kick around to each other often is, “forced fun usually equals real fun.” I think it’s up to the individual to discern which of these phrases suits each situation appropriately.

Back to the task at hand! I’m here to give an empowering (and somewhat cheeky) nudge to diving into the world of pumpkins.
When I disclosed to Amanda the other night that I was learning that not everyone carves pumpkins in October, her response was shock, as she replied: “What could you possibly be doing that is more important than carving a pumpkin?!”
My response: “exactly.”
Okay, okay… you see the fact of the matter is we both know all too well that THERE IS SO MUCH TO DO besides carve a pumpkin. At all times we have more things happening than we can possibly keep straight. I recently lamented to Stacy & Amanda that I don’t understand how one is actually expected to adult. I joked to them, “how am I supposed to pay my taxes, AND make sure there isn’t mold accumulating underneath my kitchen sink?!” Dangit…note to self: quit putting the compost container under the sink… Ugh. I digress…yet, how does one keep all of this in check? Adulting is impossibly hard for a multitude of reasons. So many more reasons are sadly more serious than the above.
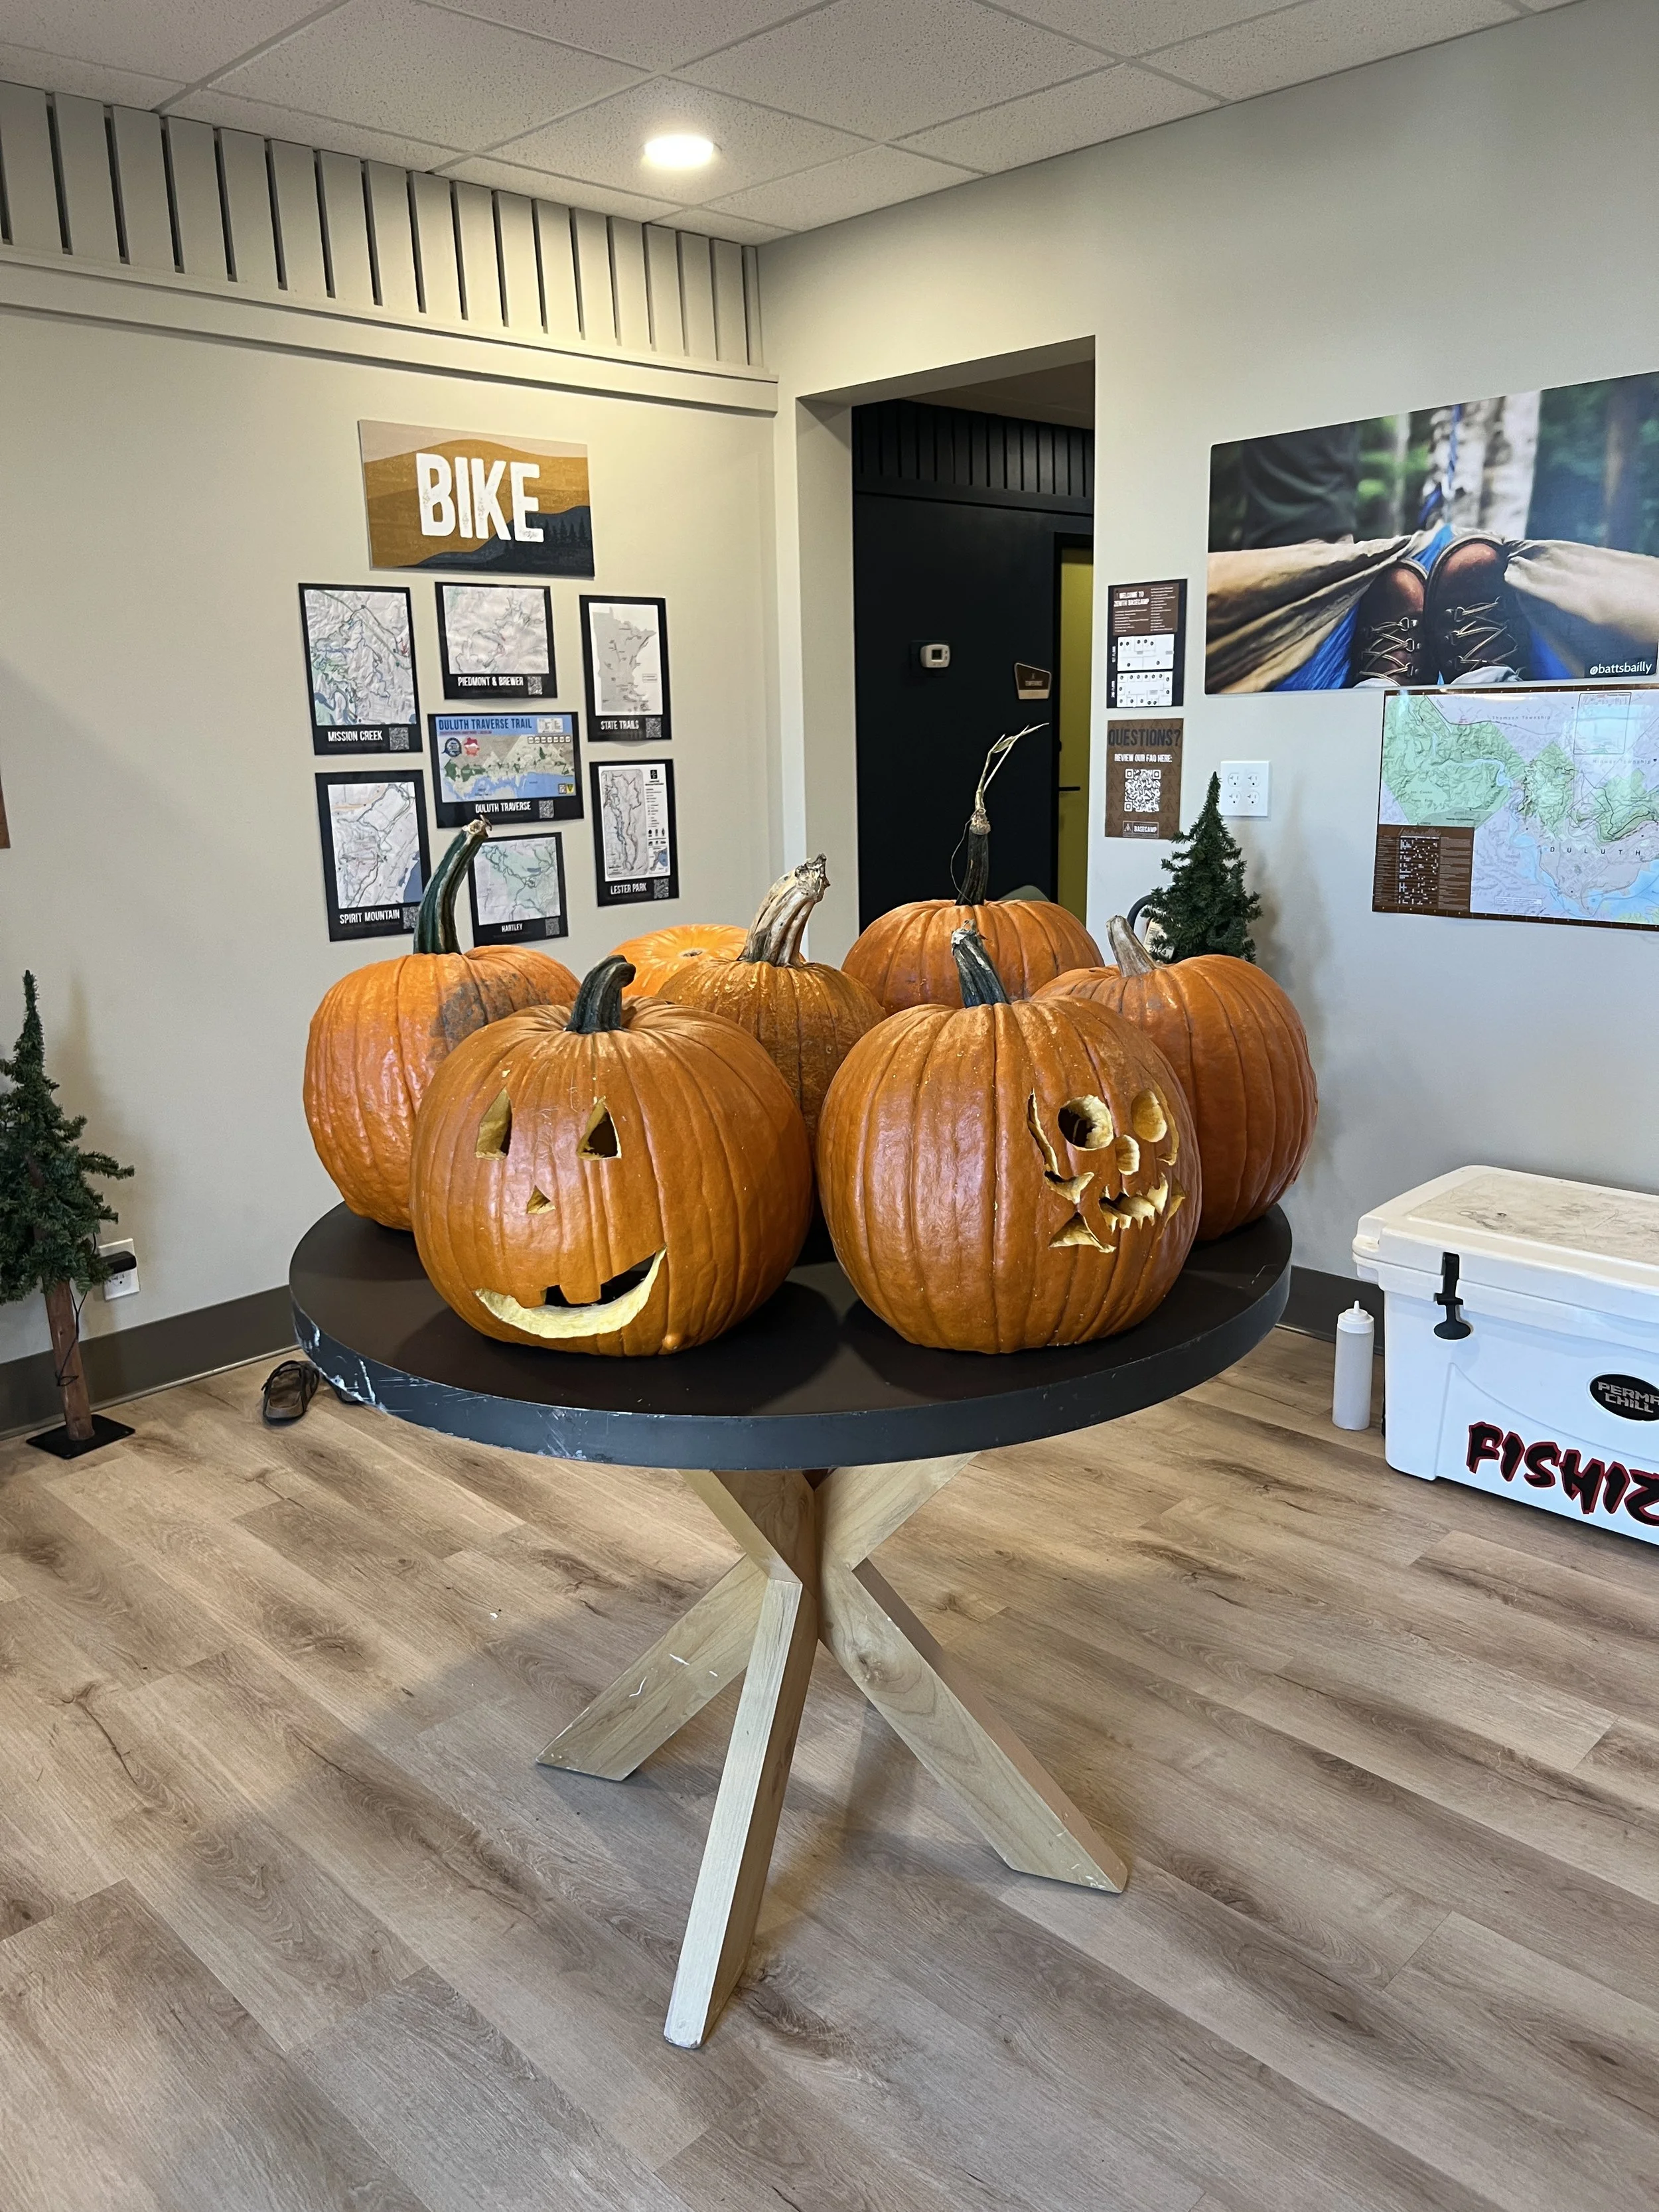
The argument for carving the pumpkin, may or may not be surprising.
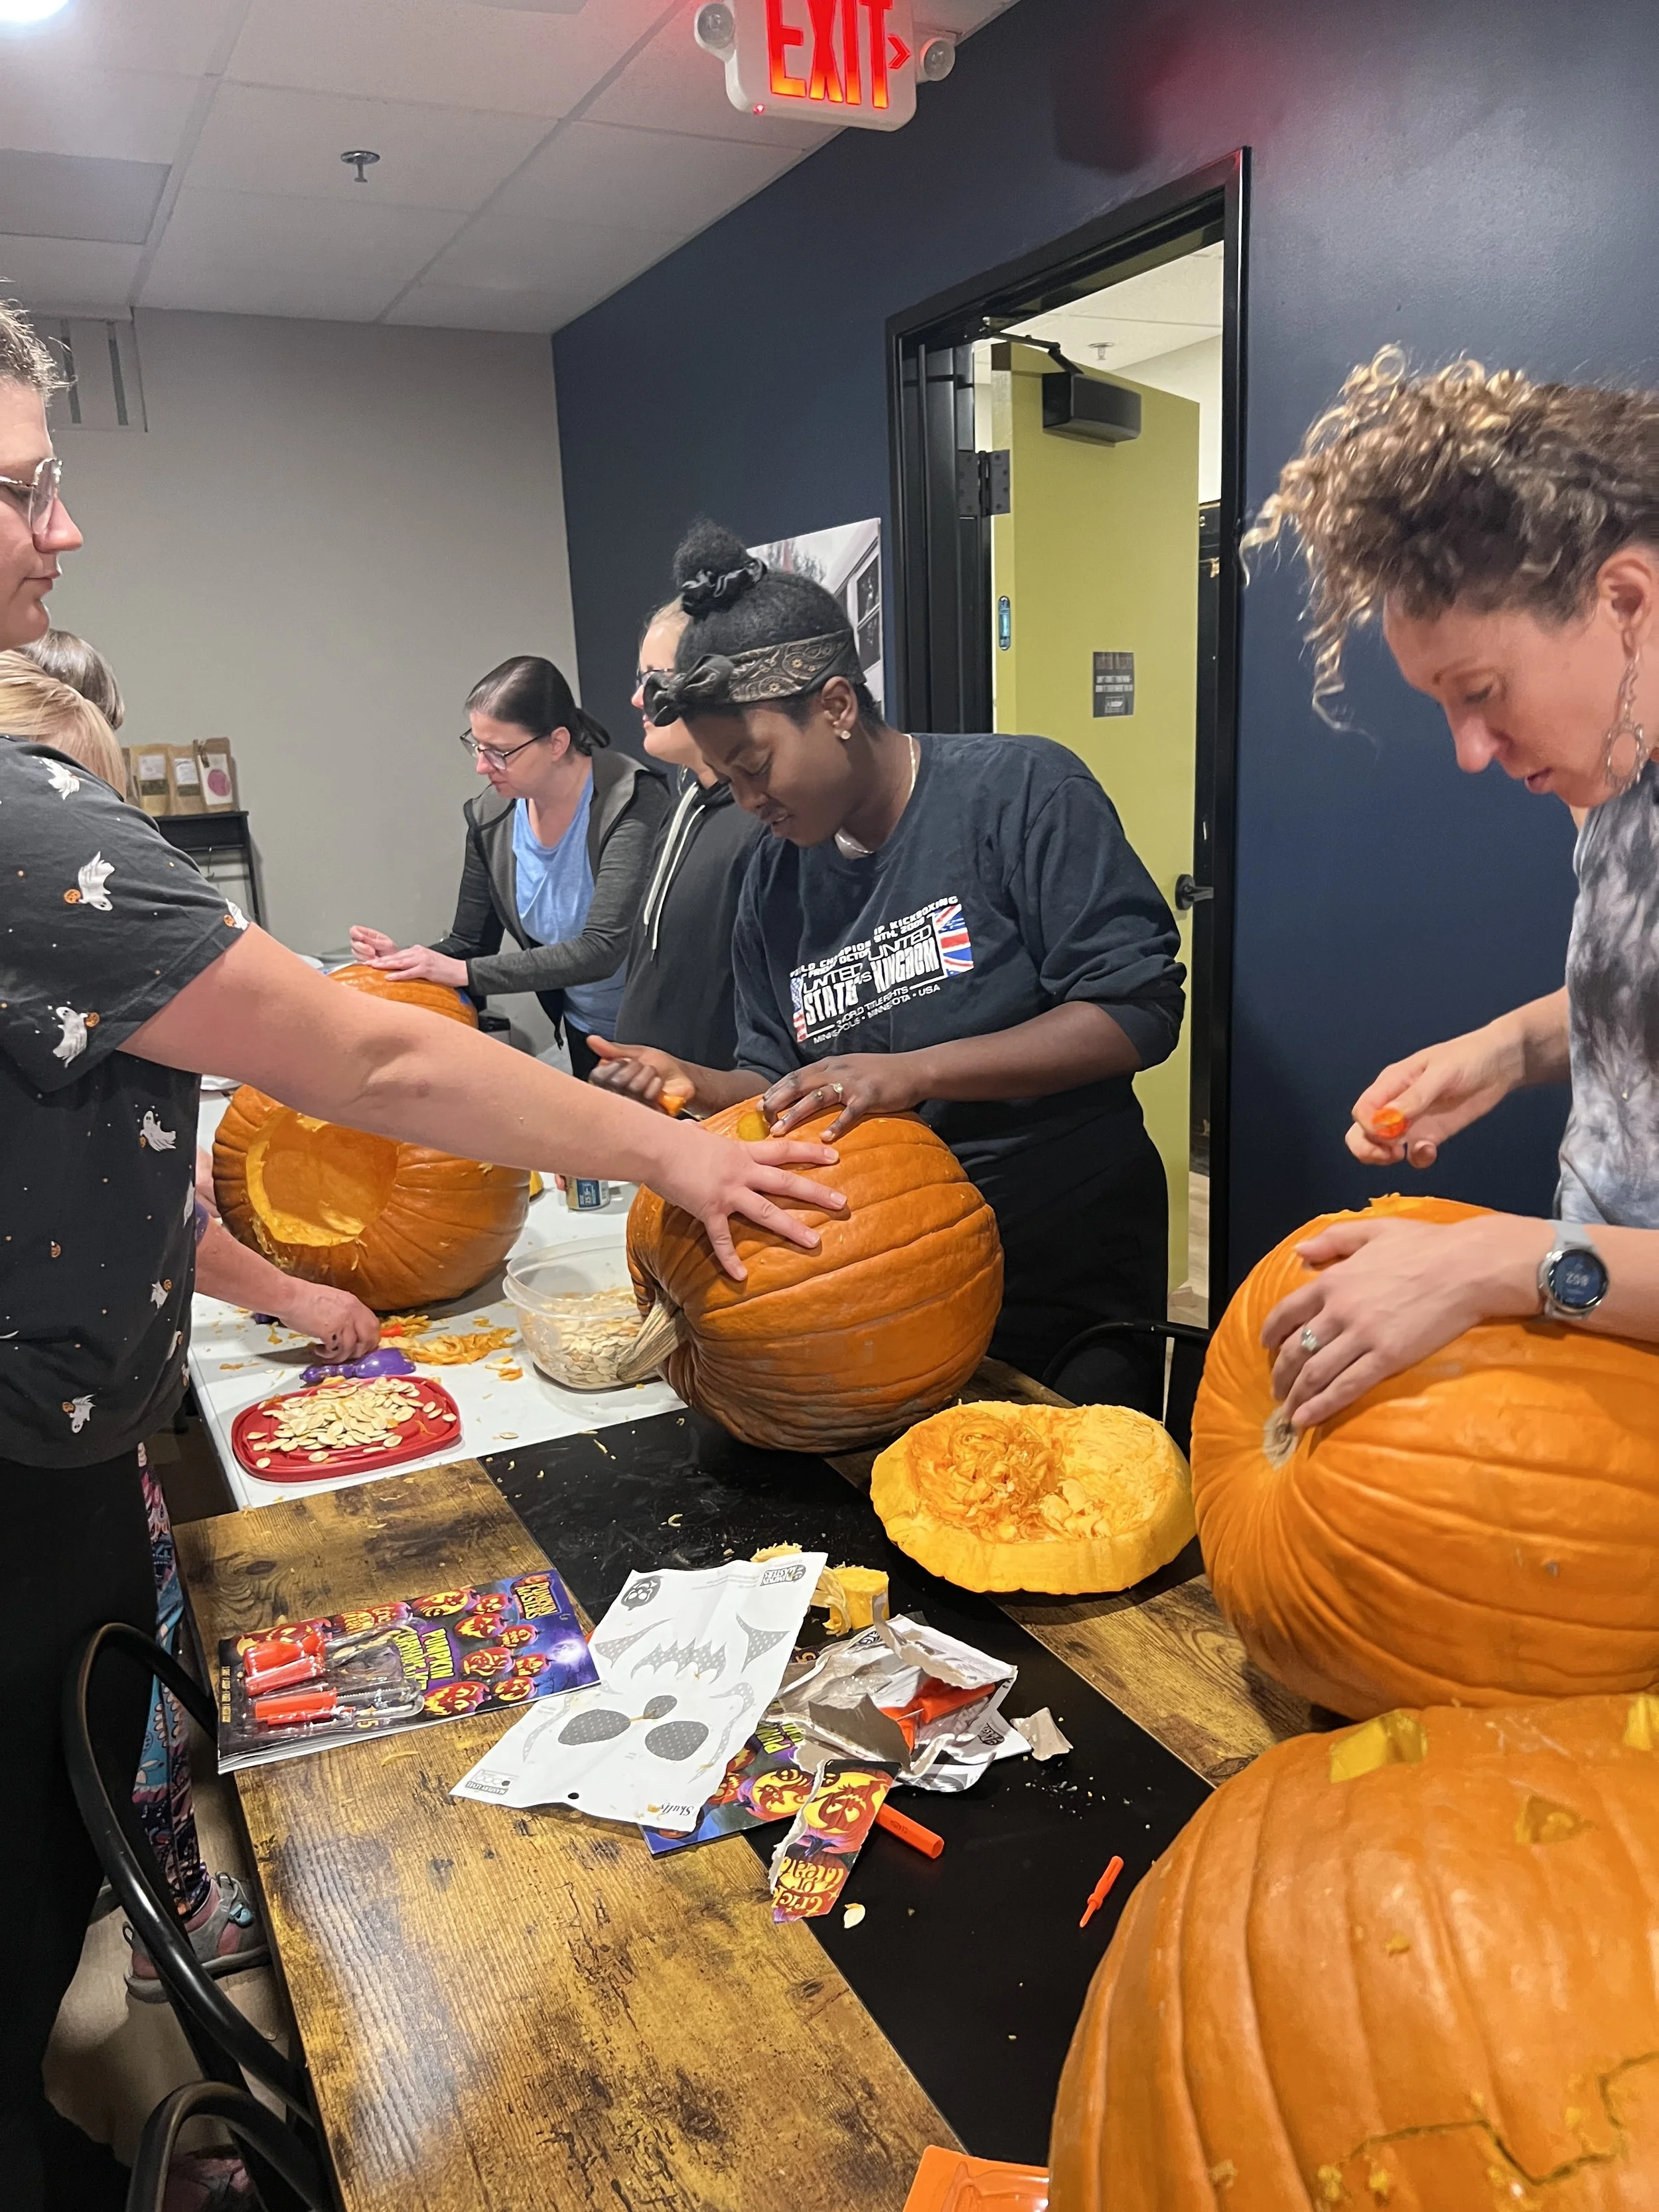
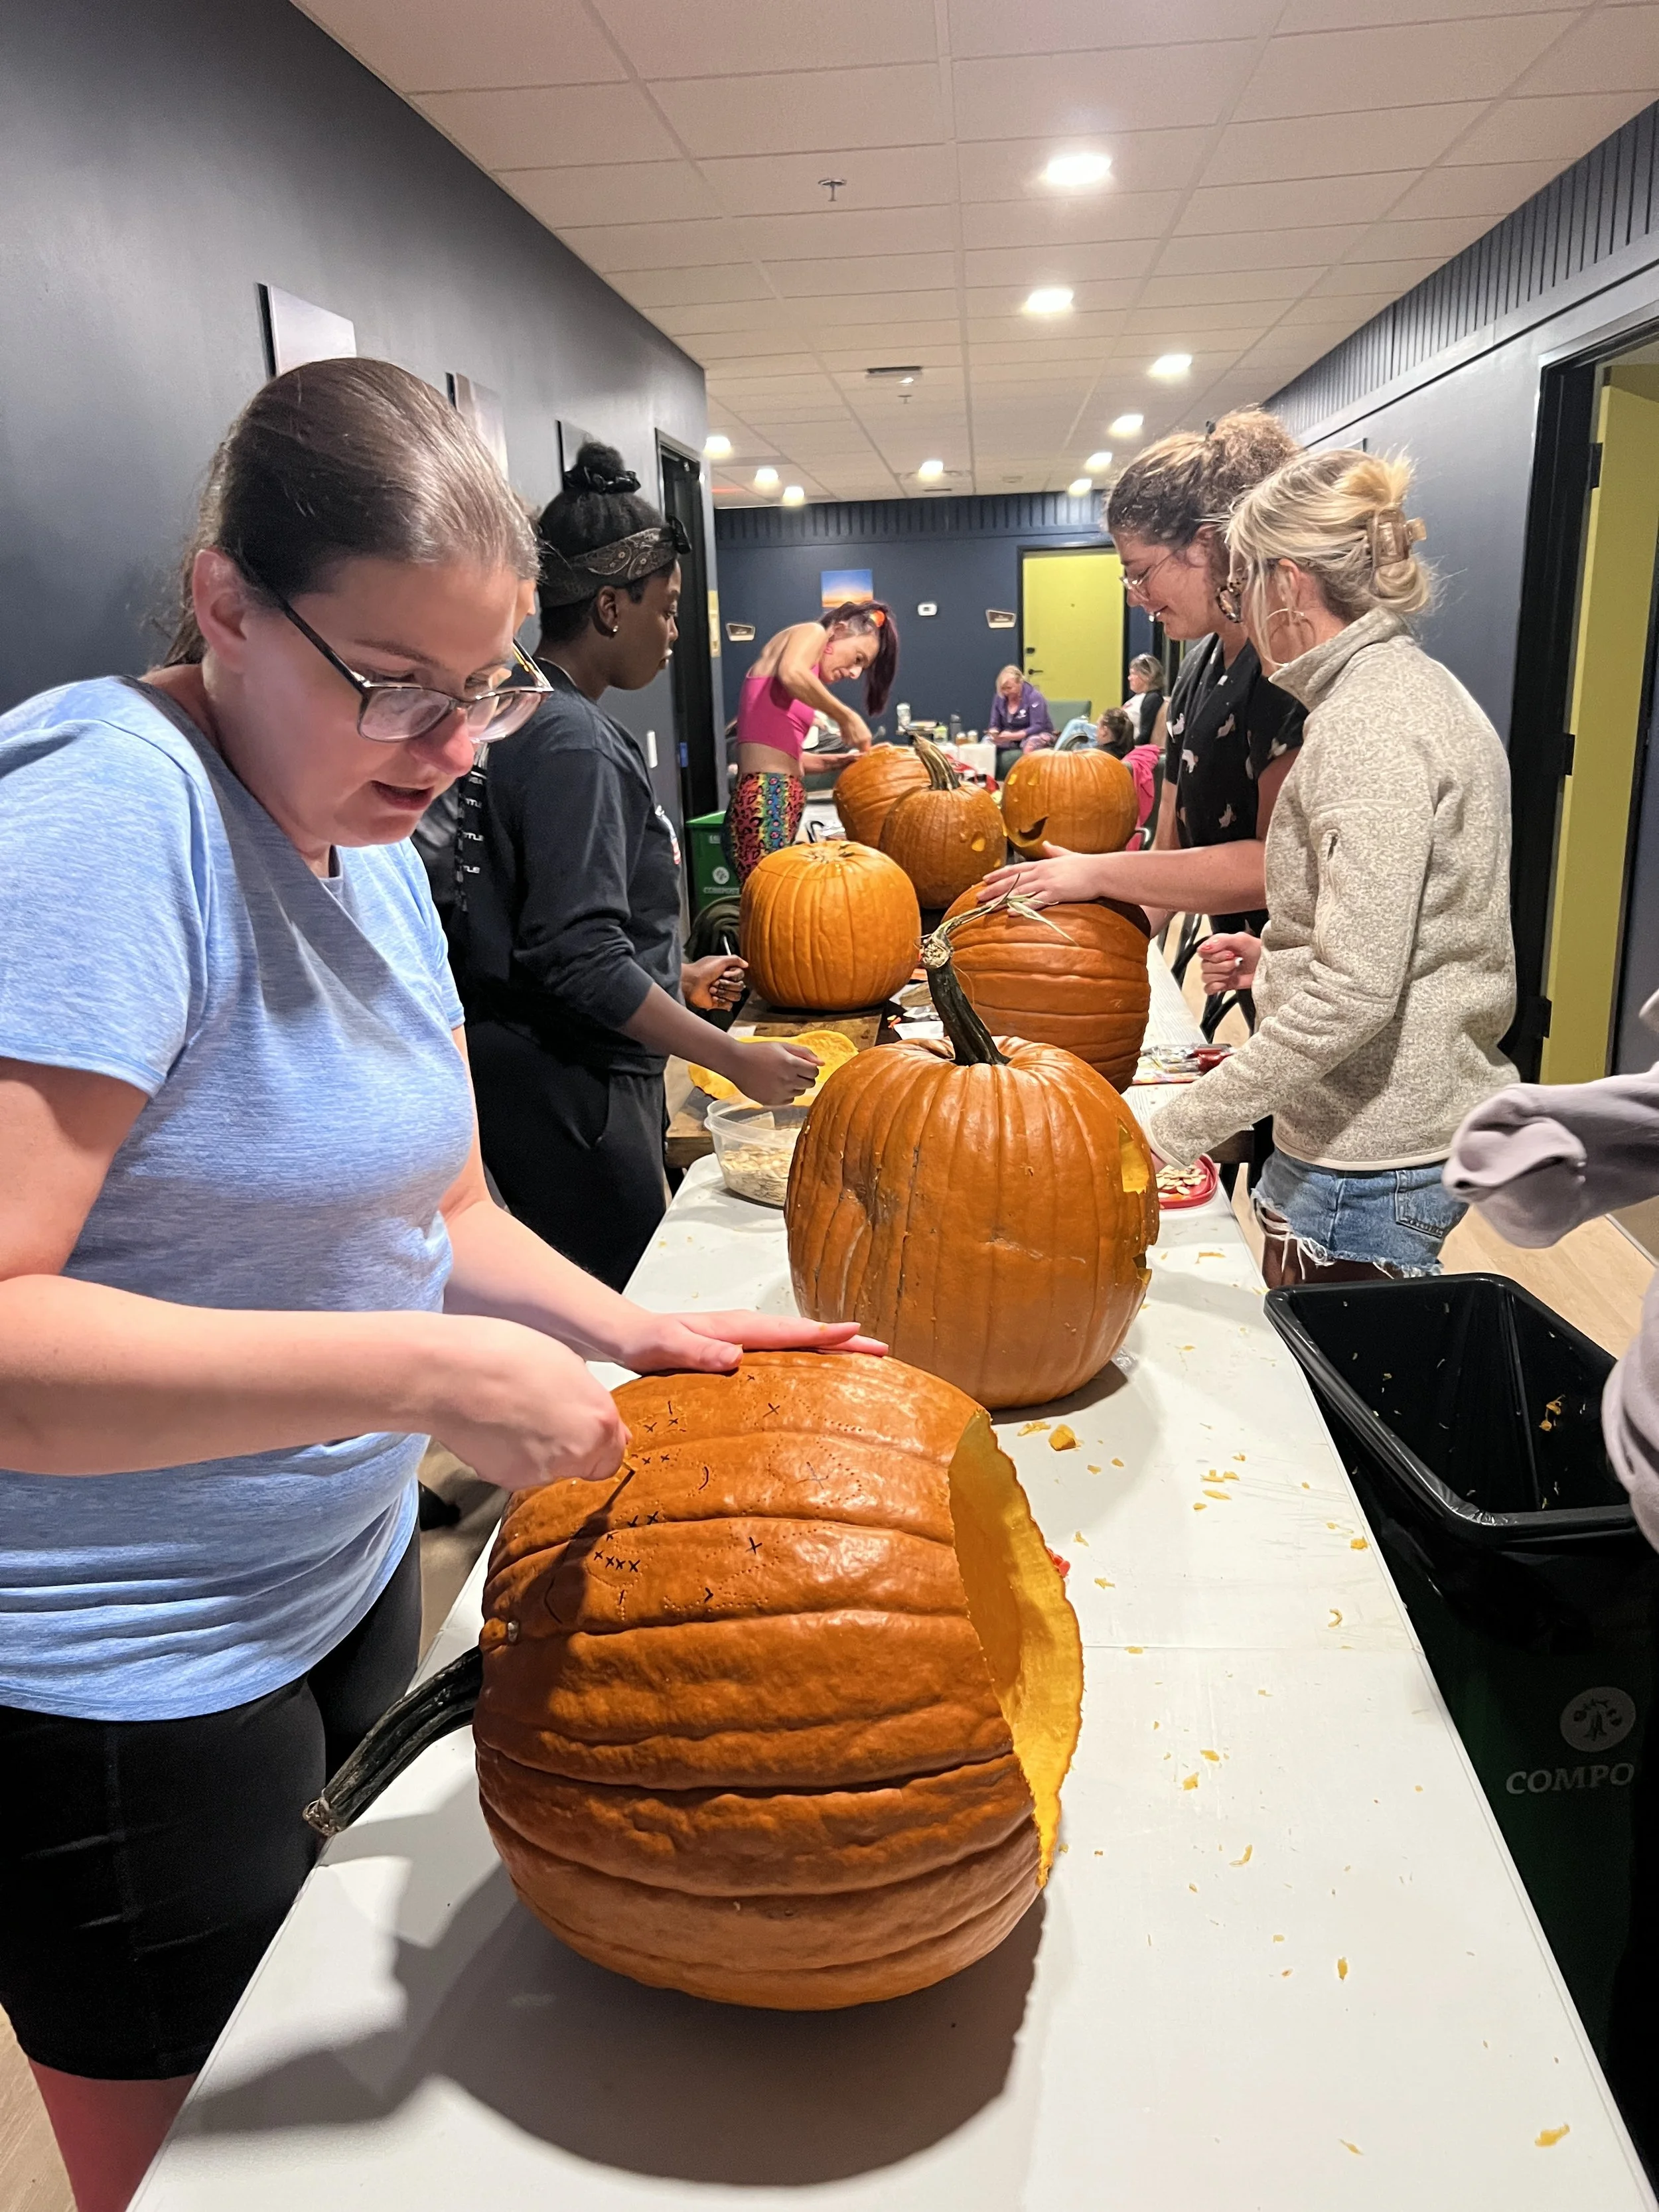
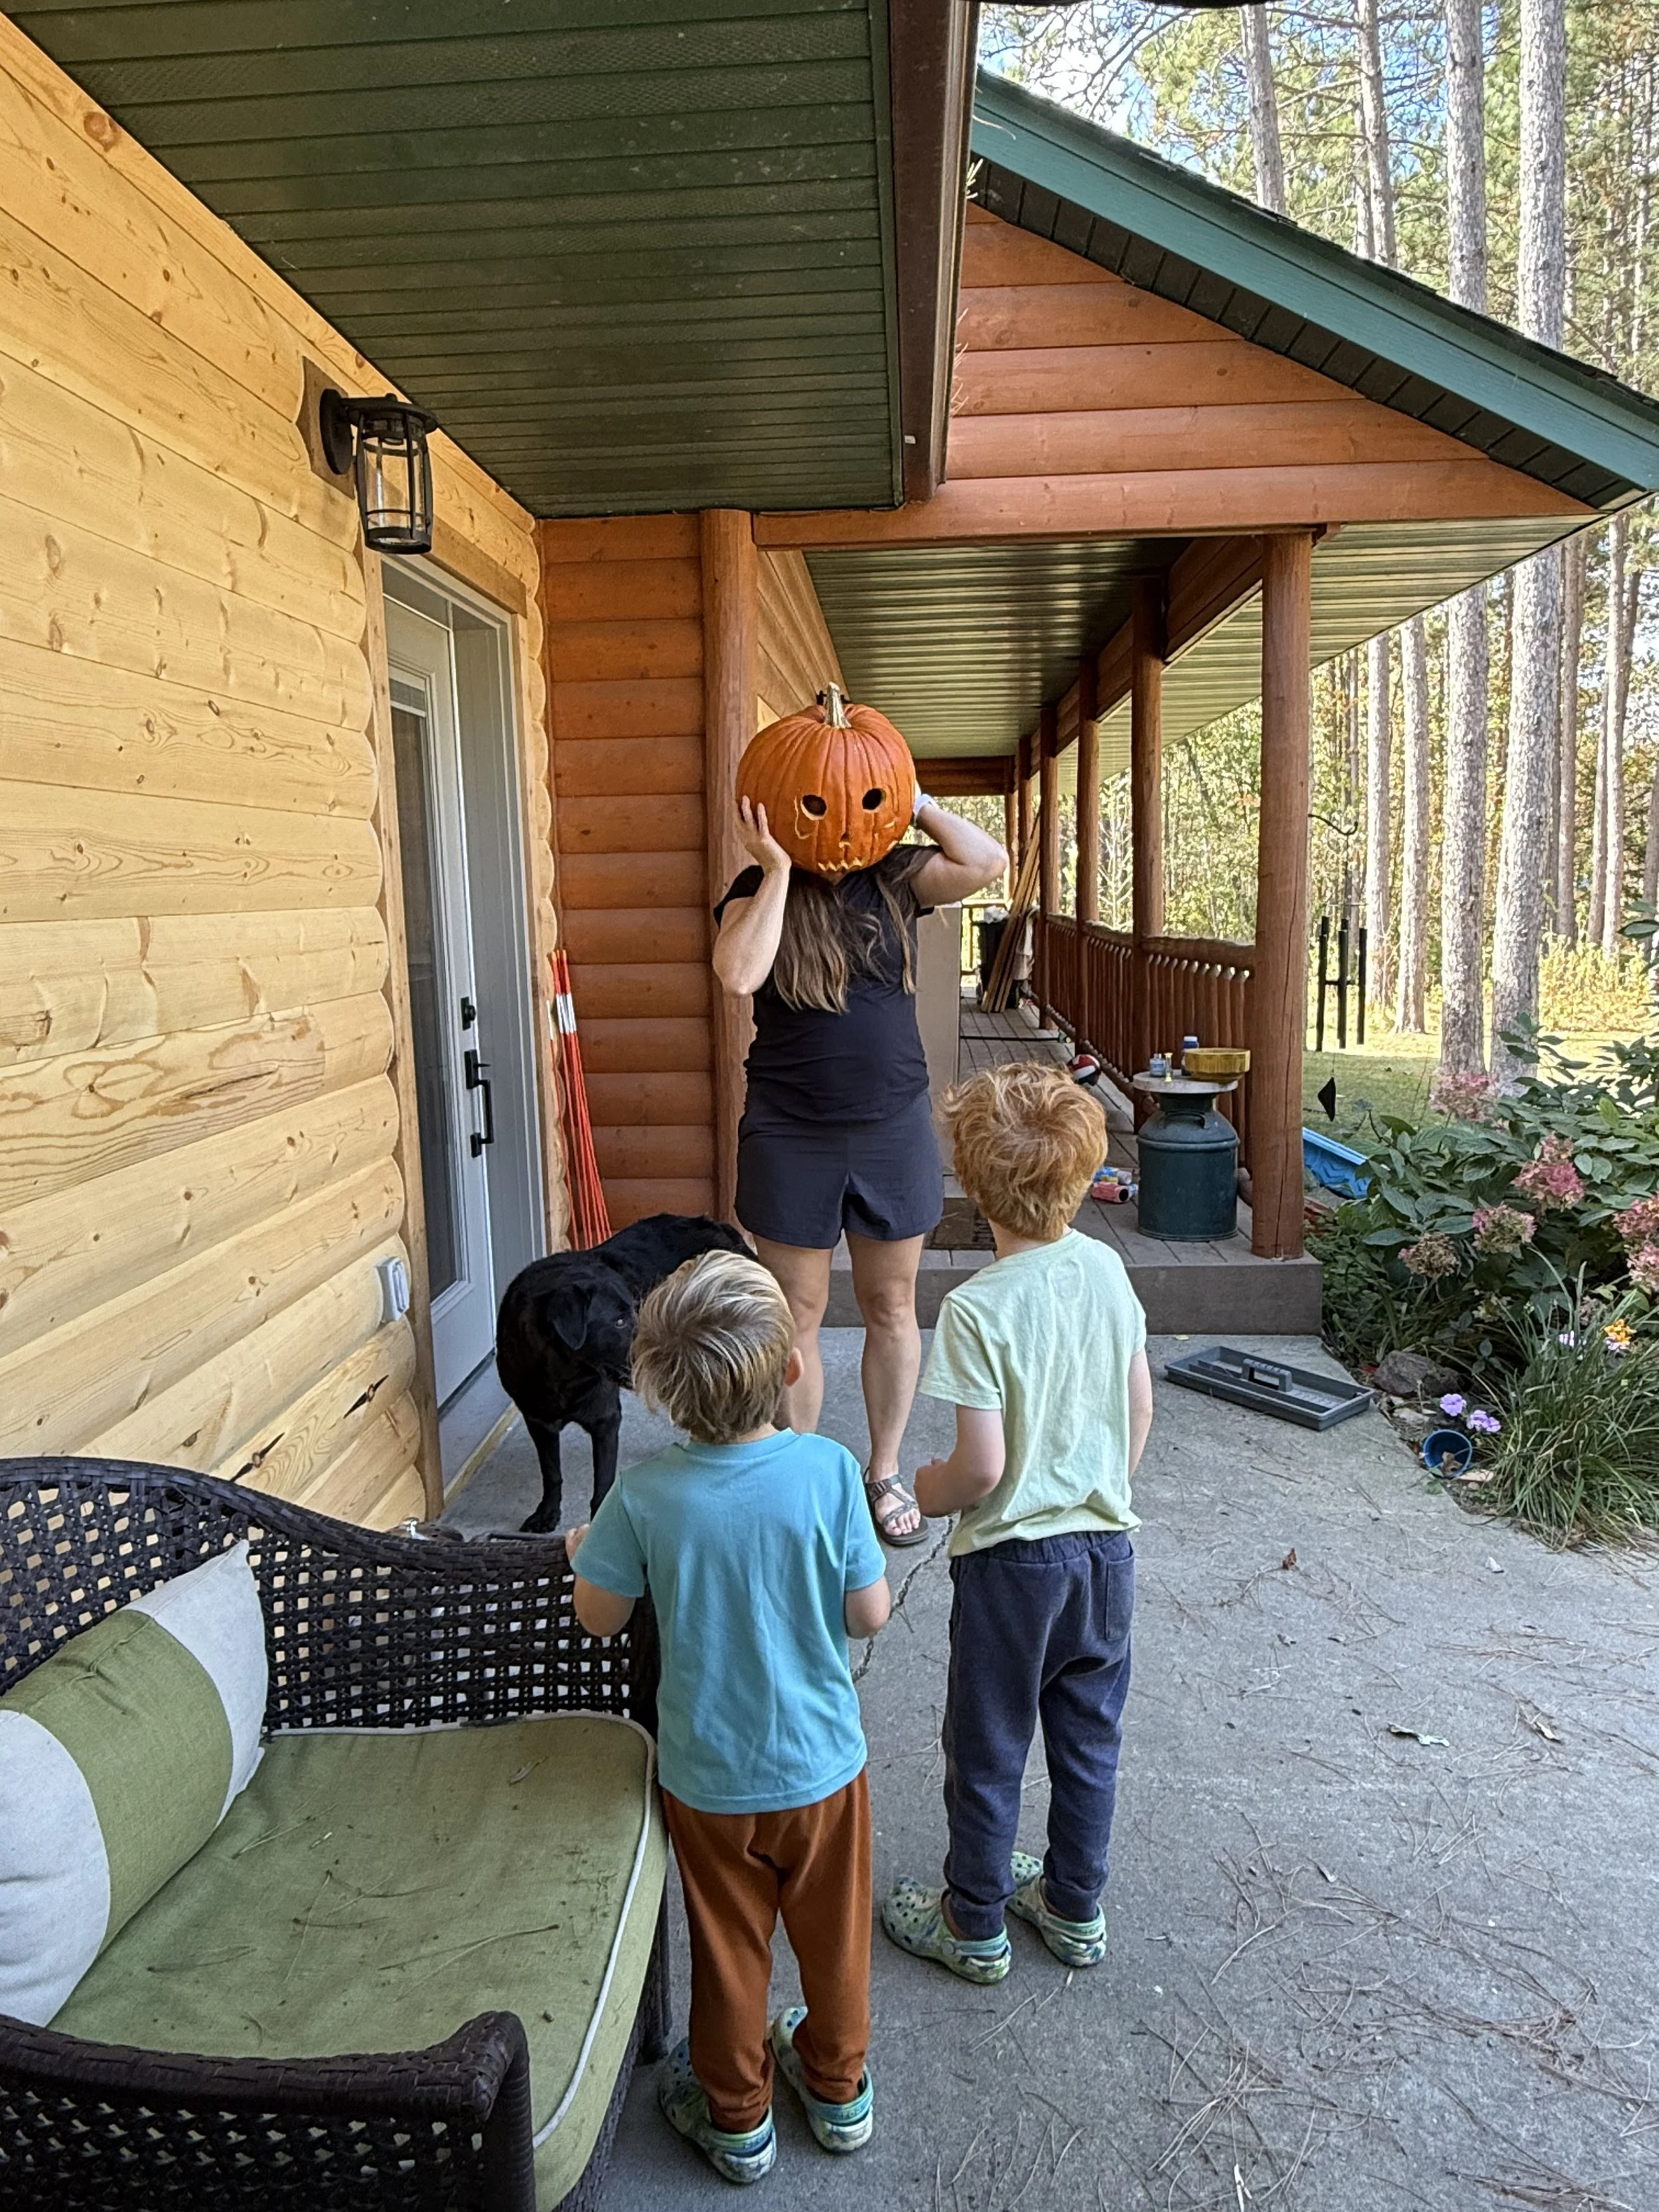
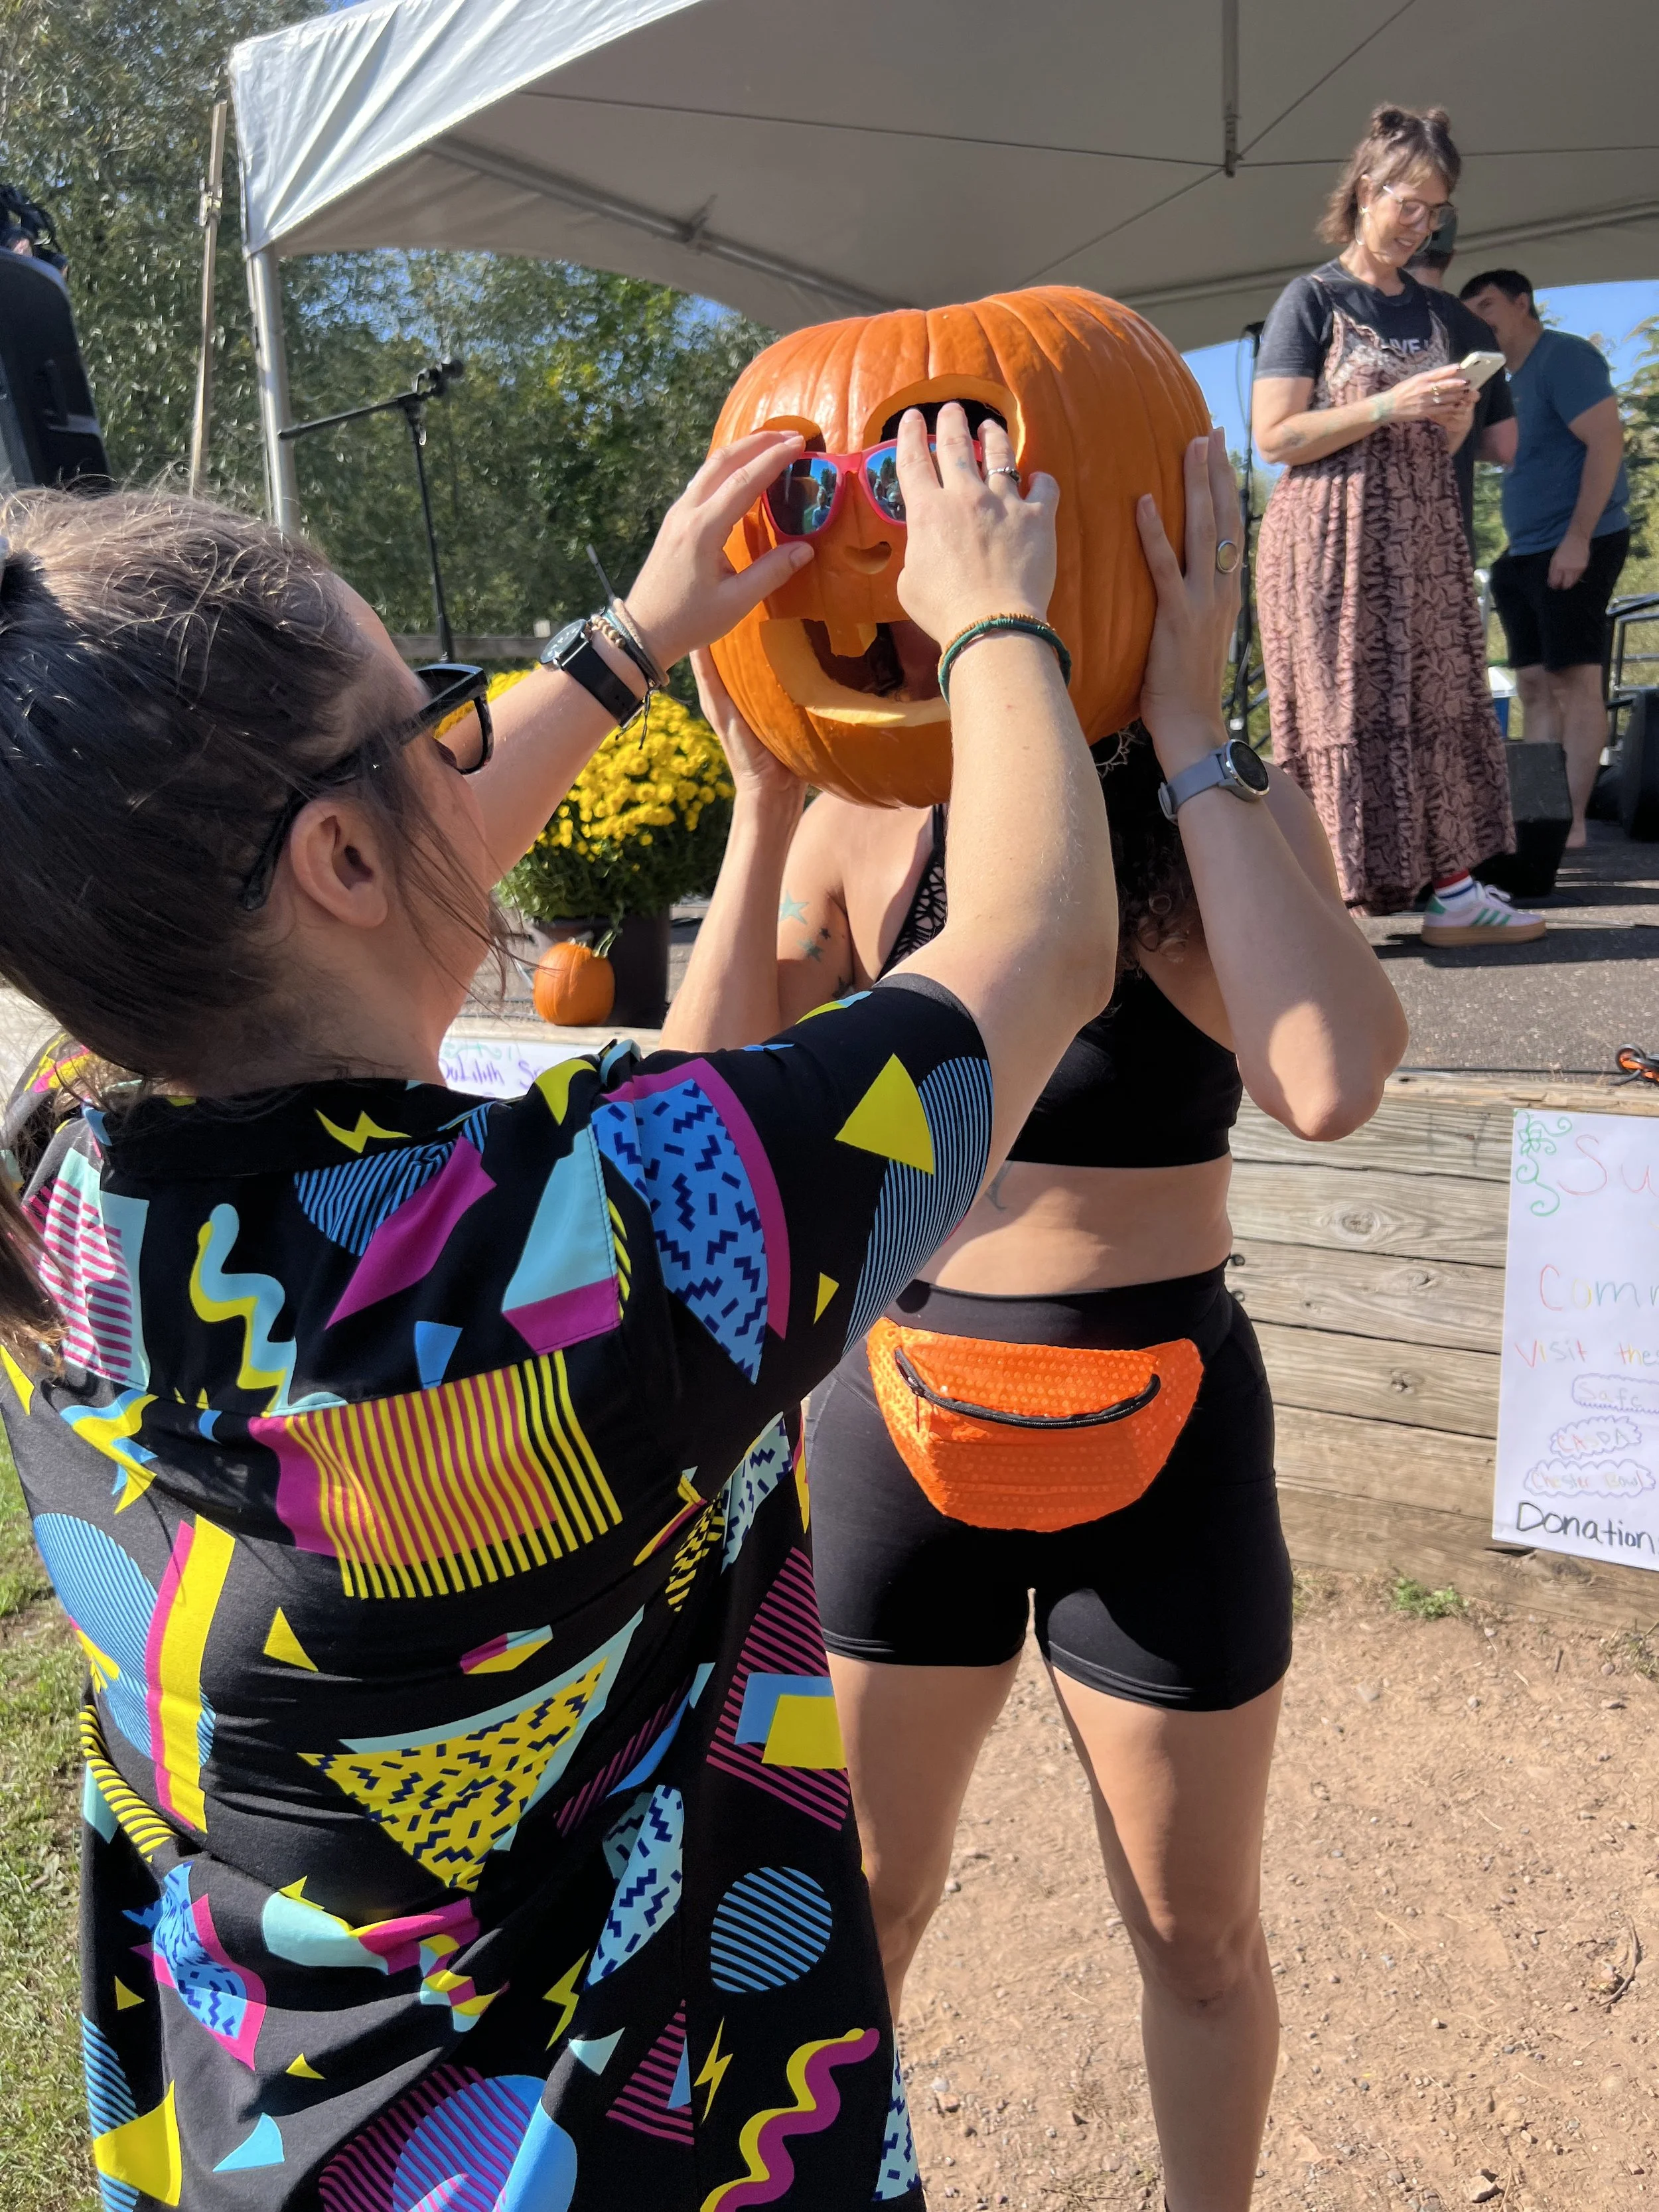
Jack-o-lanterns represent the season of Fall and Halloween. To me they also represent childhood, and a sense of playfulness and whimsy. I’d like to make a strong statement here and now that carving a pumpkin doesn’t have to involve children at all! In fact… carving a pumpkin as an adult with the intention of wearing it on your head brings delight and laughter. Results are guaranteed. Just check out these photos as proof:


Why would a yoga teacher be this passionate about carving pumpkins? BECAUSE! The process of pumpkin carving is a mindfulness activity. It’s living in sync with nature and embracing the season. It’s dropping everything and not sweating the small stuff. Because when you zoom out, often most of it is in fact small stuff.
Tell me you’re not in flow state while selecting, prepping, and carving a pumpkin? You completely are! Flow state is a mindfulness state of being completely immersed in what you are doing. You are not able to multi-task with pumpkin goo all over your hands. You are tapping into your creativity. You are totally present.
As for me, if I don’t “have time” to carve a pumpkin, it’s a signal to myself that I have too much on my plate.
To break it down…
Selecting the pumpkin that suits your fancy is a delight of the senses. The color, size, texture, shape… oh it’s so fun to admire pumpkins!
Appreciating that these small to massive orbs came from a seed is pretty cool to think about. It’s great to appreciate where this little character came from.
By the time you’ve selected the perfect pumpkin, and brought it home to appreciate the season even further, you’ve already been down a whole mindfulness path. Yet, the fun continues!
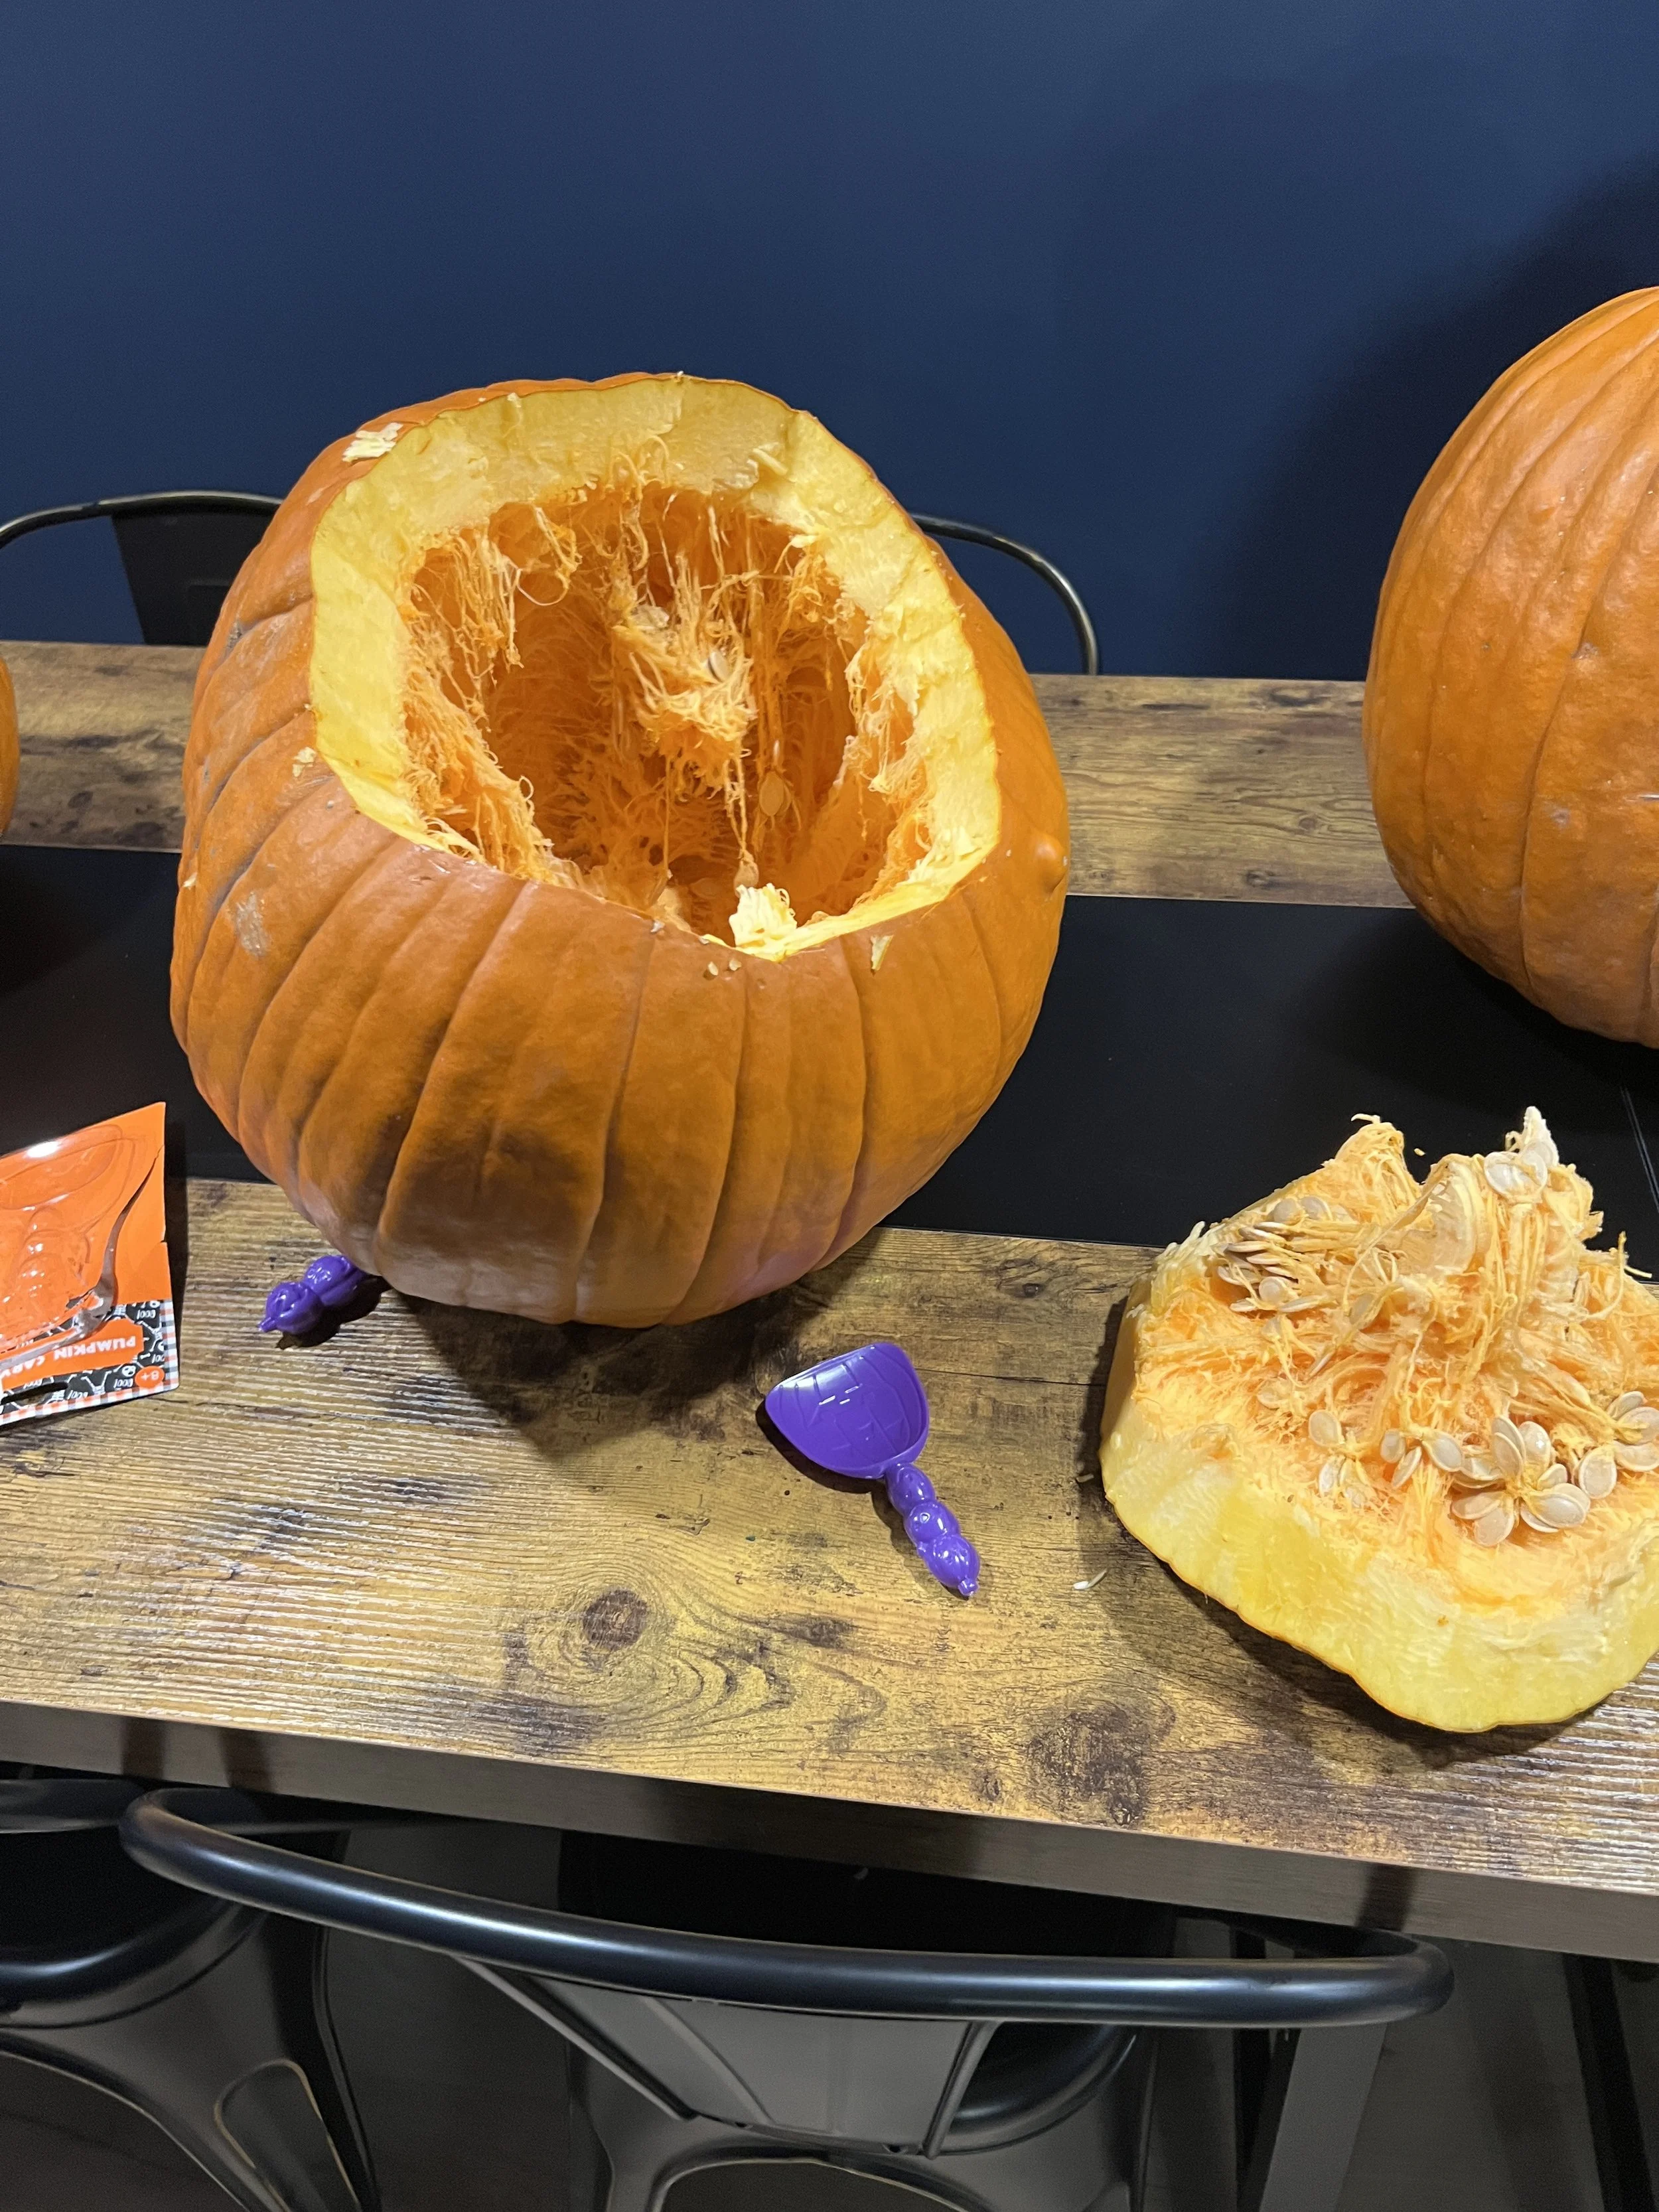
Next, the process of cutting open the pumpkin, and removing the seeds and “meat” so to speak is a full-on sensory experience. Embrace the mess! Embrace the textures, temperature, the goo. It washes off. Make it fun!

I show appreciation to the growing process of the pumpkin, by saving the seeds for delicious baking. And then I feed the “guts” or the “meat” to my chickens. Deer and other animals appreciate the treat of pumpkins too. Your compost bin can also be a happy home for pumpkin leftovers (just for the love of all that is holy, don’t keep the compost bin under your sink). How beautiful is that?! Back to the earth.
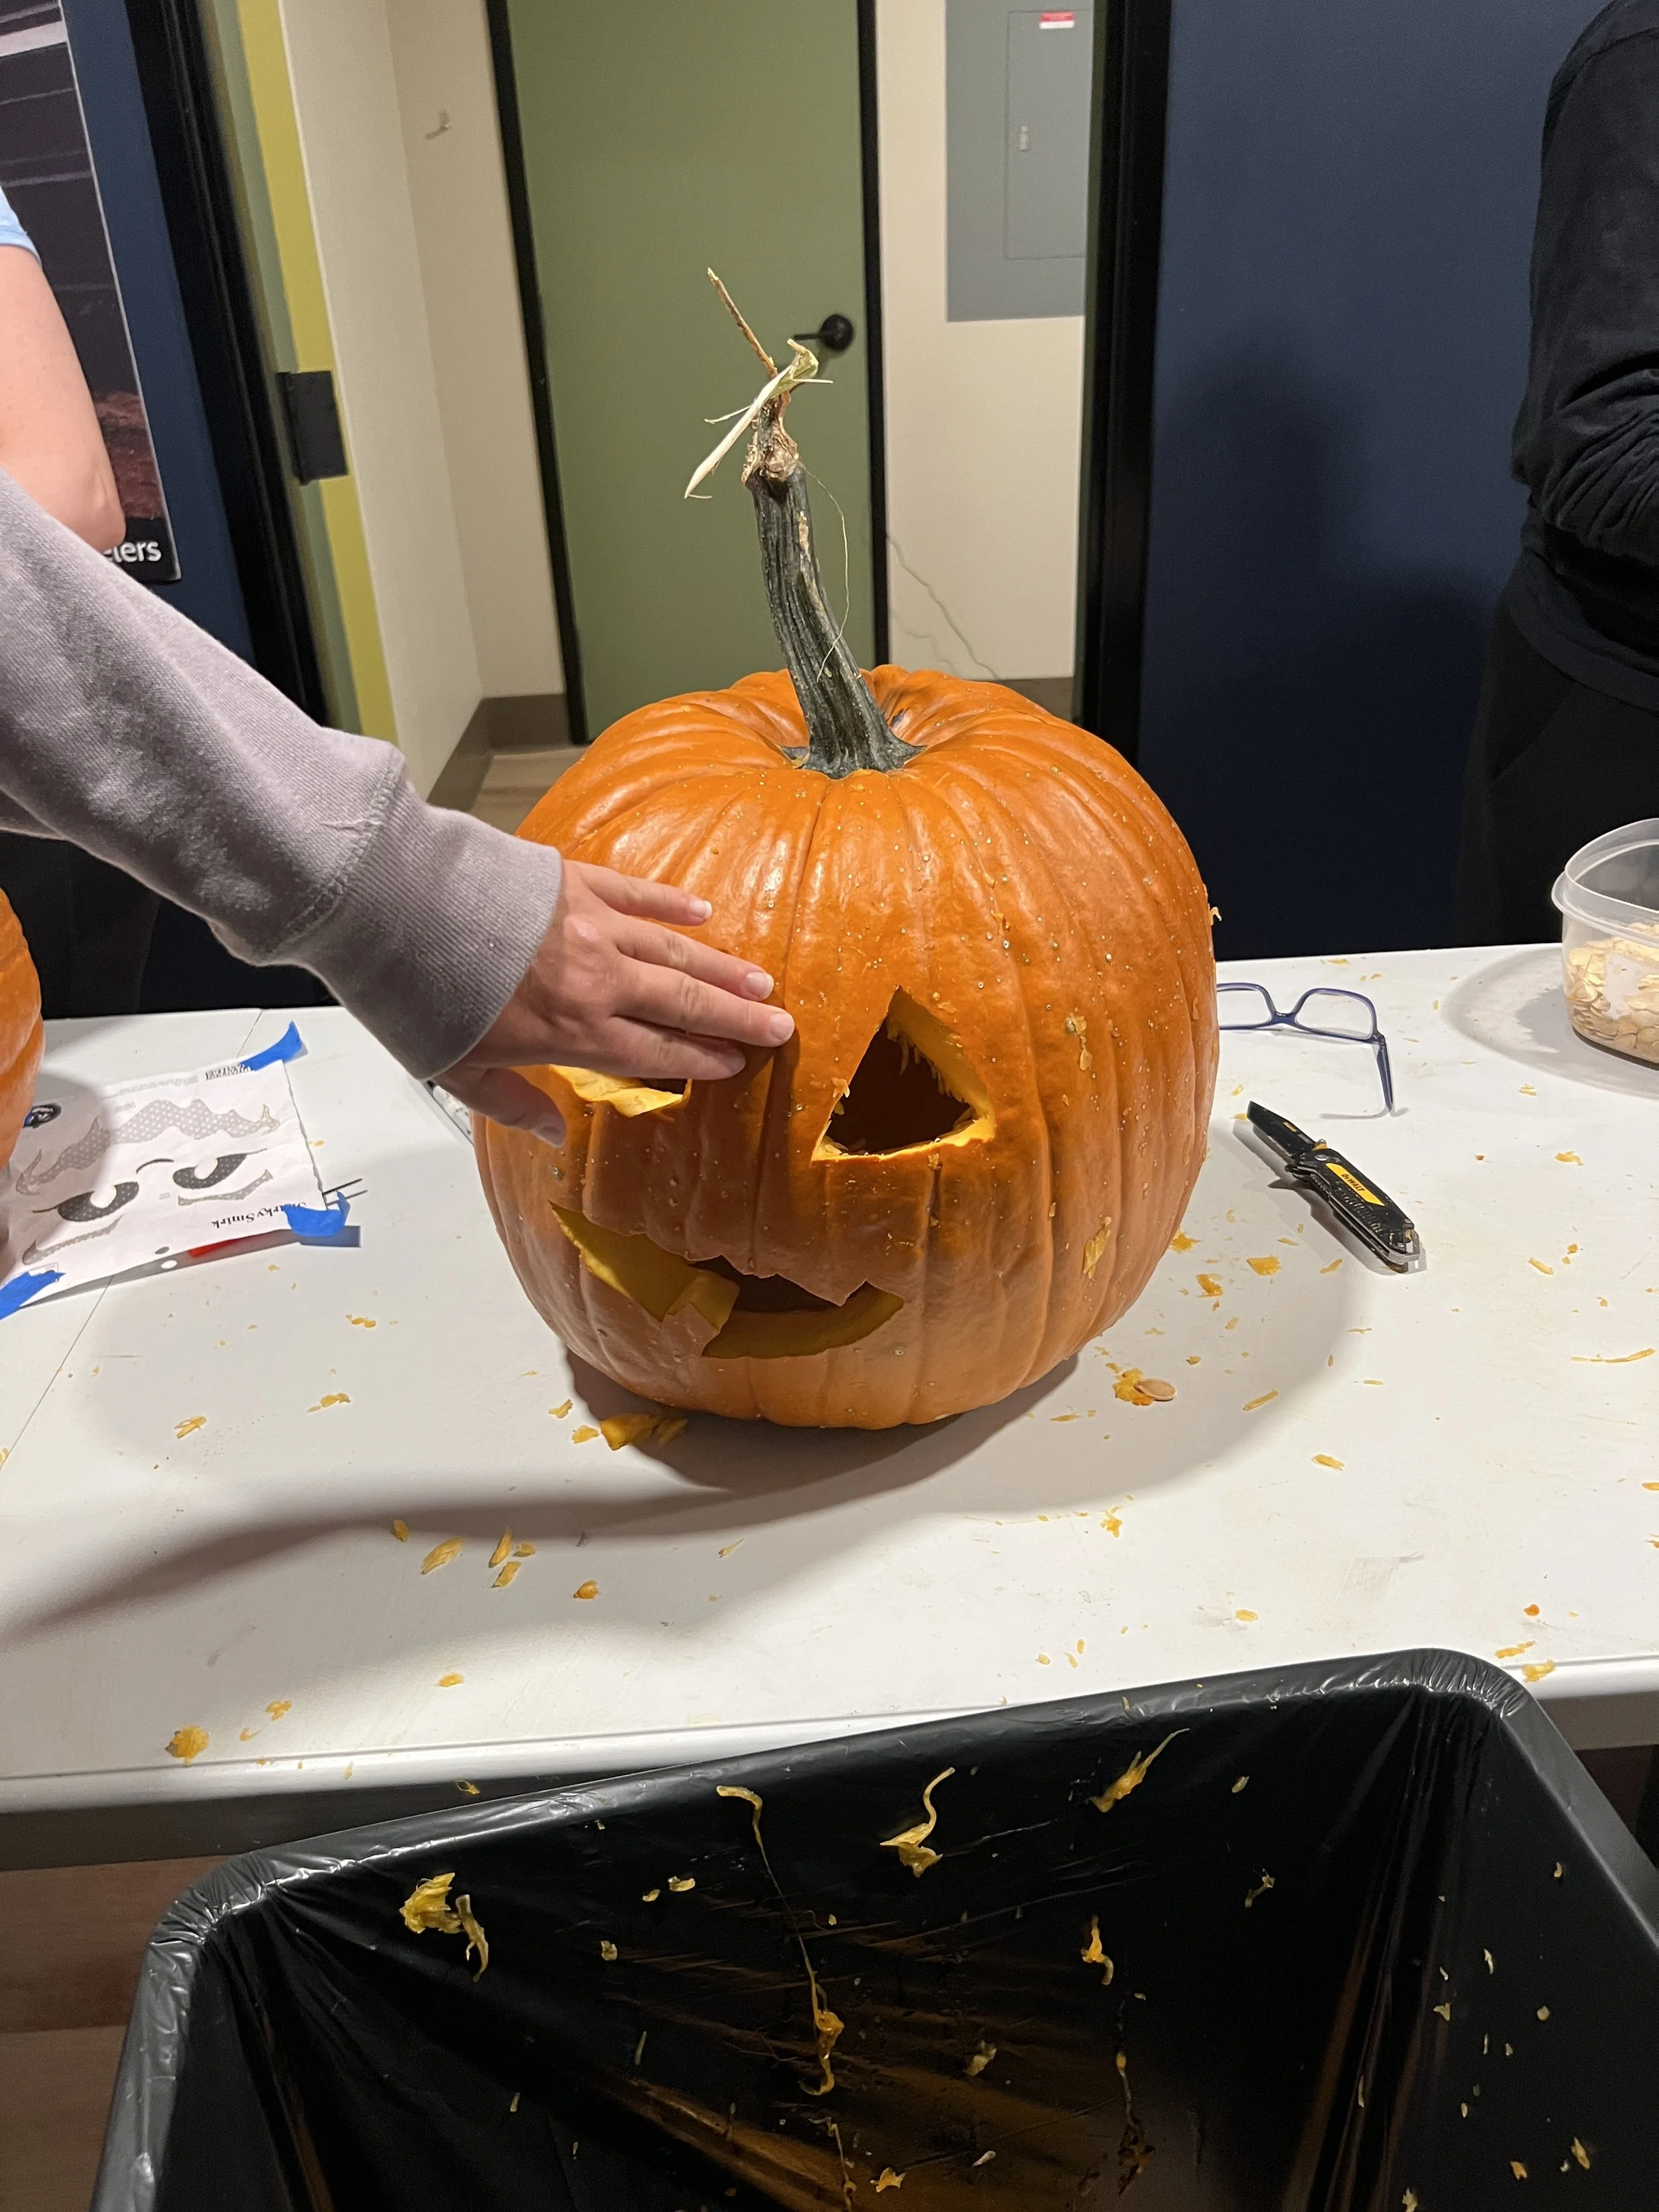
Next - carving the Jack-o-lantern! Well, I keep that part pretty simple honestly. I’m not into stencils, or anything fancy. Just give me a good ol’ triangle eyes, nose, and jaggedy toothed grin. For me, it’s more whimsical to have an imperfect face carved on the pumpkin. I don’t like to worry about perfection.
It depends on how you view it. In some ways, there are a lot more important things to do than carve a pumpkin. Yet, somehow, it can also be viewed that there is nothing more important than dropping everything on the to-do list, carving the pumpkin, and enjoying it for yourself or sharing it with loved ones.
Recommended Tools:
Reuse newspaper or paper bags to place on the table under your pumpkin.
Sharp kitchen knife to carve the top off.
The plastic pumpkin carving scoop + serrated little knife are surprisingly useful for the rest! They work quite well.
Scoop your pumpkin guts into a bowl, using a little plastic pumpkin scoop from the store and/or your hands.
Use the serrated little knife to carve the face - yes, it actually works better than a kitchen knife!
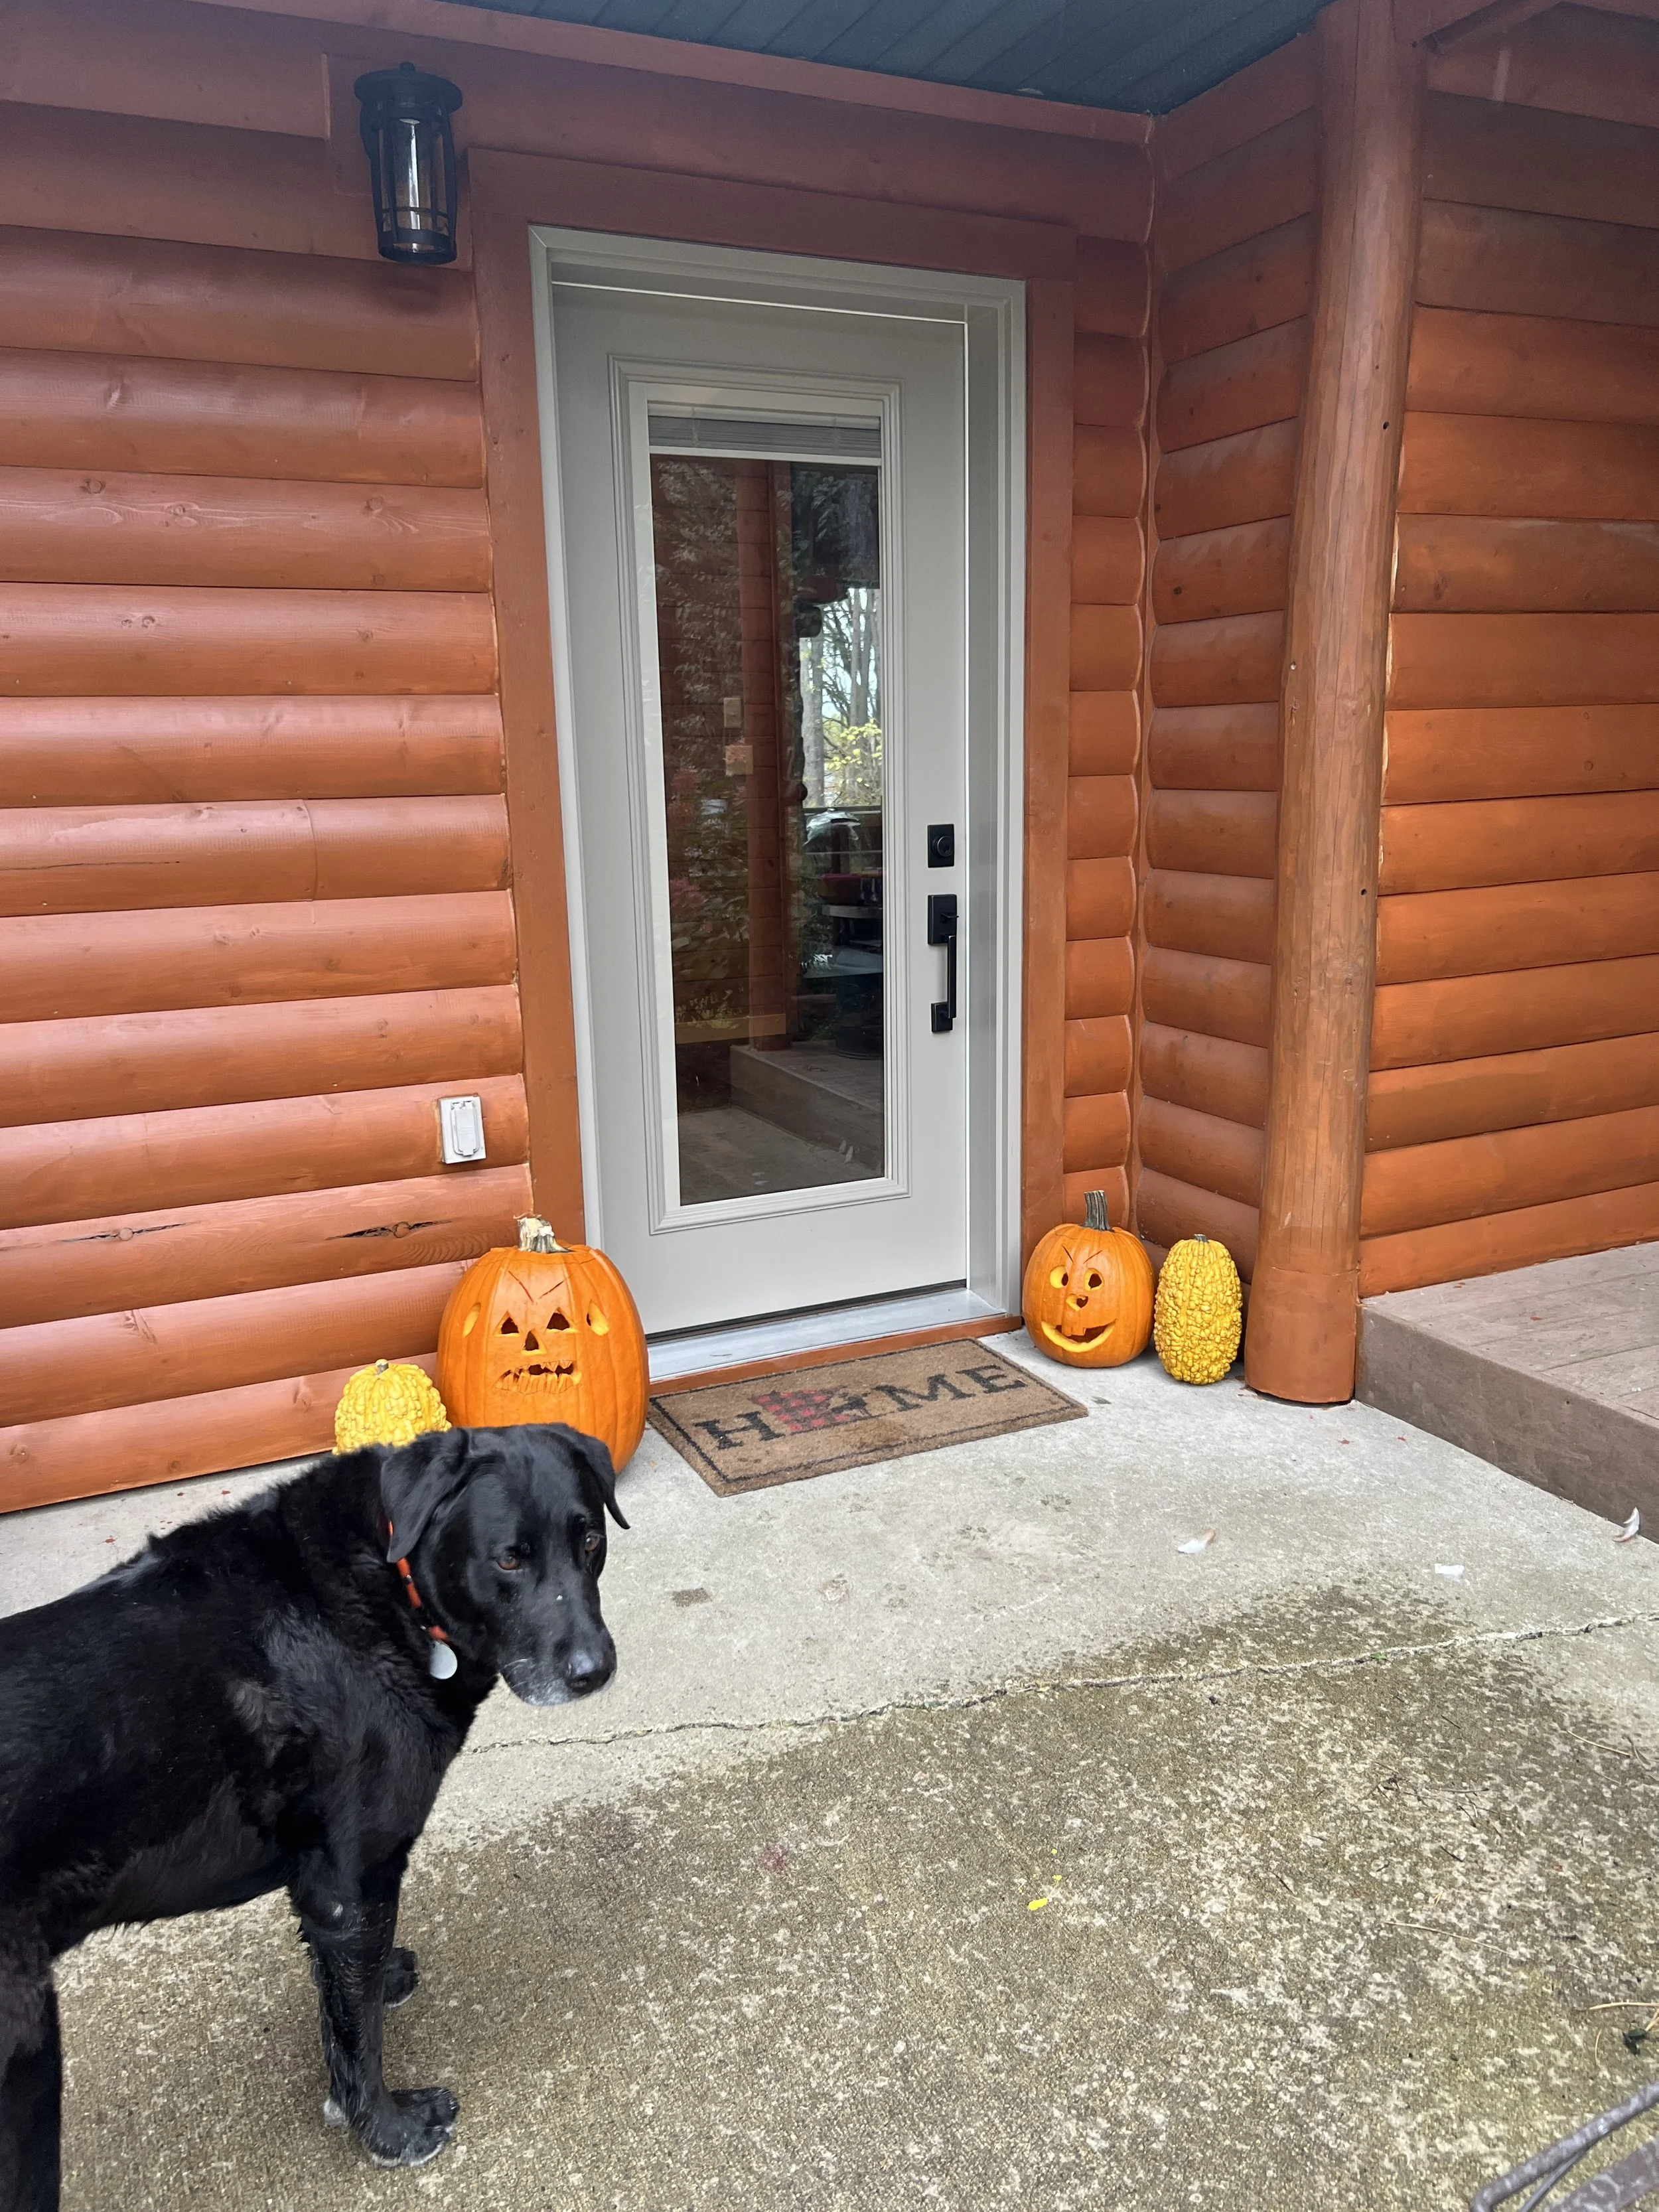
Place your pumpkin outside, light a little tea light in there for spooky szn delight!
My Favorite Pumpkin Seed Recipe:
Ingredients:
pumpkin seeds
melted butter
sea salt, cinnamon, garlic powder
Instructions:
Clean the seeds:
Separate seeds from the pumpkin pulp in a colander under cool running water.Dry the seeds:
Lay the seeds out on a cloth to dry overnight. I put a large dish cloth on the counter and spread out the seeds. I also cover the seeds with a cloth.Preheat oven:
Set to 325°FSeason:
Toss seeds in a bowl with melted butter, salt, and cinnamon.Bake:
Spray a baking sheet with olive oil + spread the seeds evenly on the baking sheet.
Bake 25–35 minutes, stirring every 10 minutes until golden brown and crisp.Cool:
Let cool completely before eating or storing (they’ll crisp up more as they cool).
Storage:
Keep in an airtight jar or container at room temp for up to 2 weeks (or in the fridge for longer).
**P.S. There’s no way this delightful treat will stick around for 2 weeks!?!?!